Page 8 of 11

Re: Project "Plonker"

PostPosted: Tue Jun 30, 2020 10:00 pm
by mec
Thanks Mr T yes i have been very lucky over the last few months, if you can try n get out there even just for 30mins, it deffo helps with ur state of mind ;) :kiss: :jzd:

Re: Project "Plonker"

PostPosted: Wed Jul 01, 2020 9:59 am
by Dan 6511
Admin-bloke wrote:I'm jealous of the time you've managed to get in the garage.


So am I, my D still has no door cards since October!

Awesome work as ever mec :D come on, keep going and get the van to the October meet!

Re: Project "Plonker"

PostPosted: Wed Jul 01, 2020 1:14 pm
by mec
Mmmm never say never Dan ;-)

Re: Project "Plonker"

PostPosted: Fri Jul 10, 2020 12:50 am
by mec
Hi All

More project plonker progress...

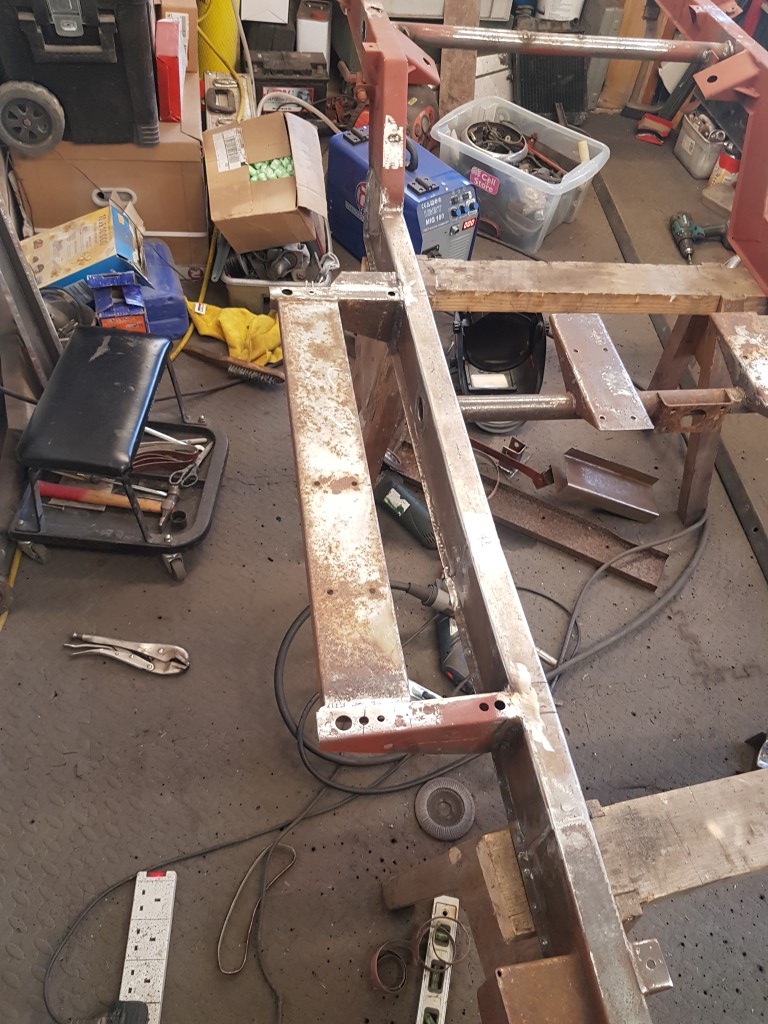
Right then, carrying on from the previous post of chassis work, the cutting and welding had carried on at a fairly fast pace...

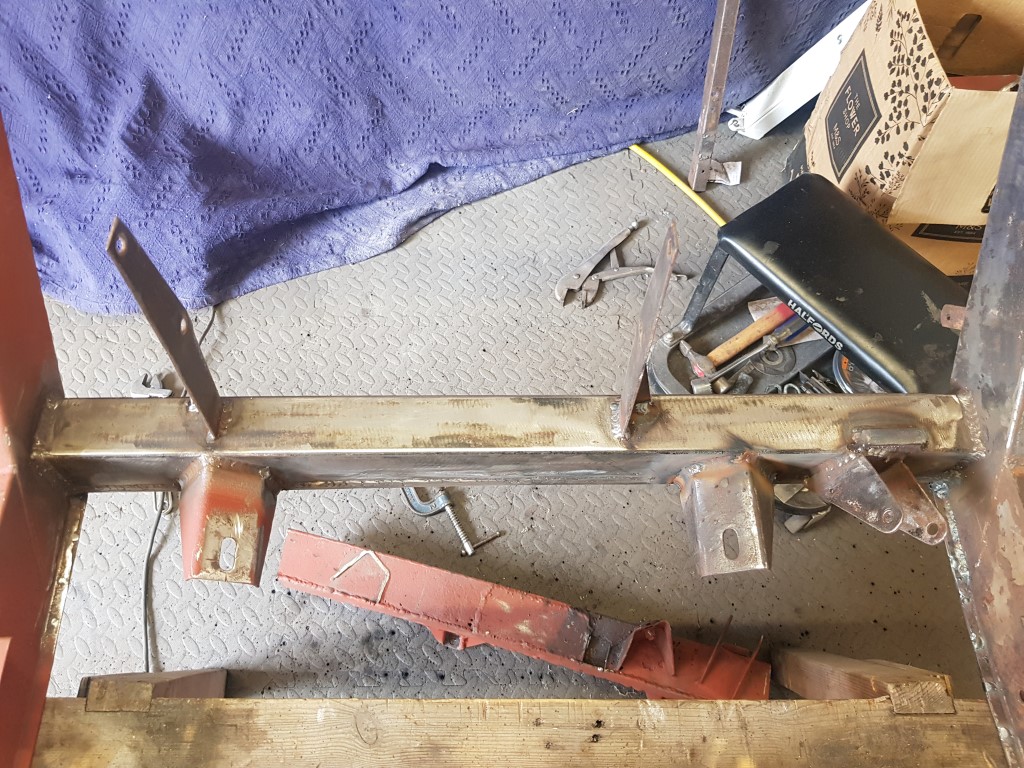
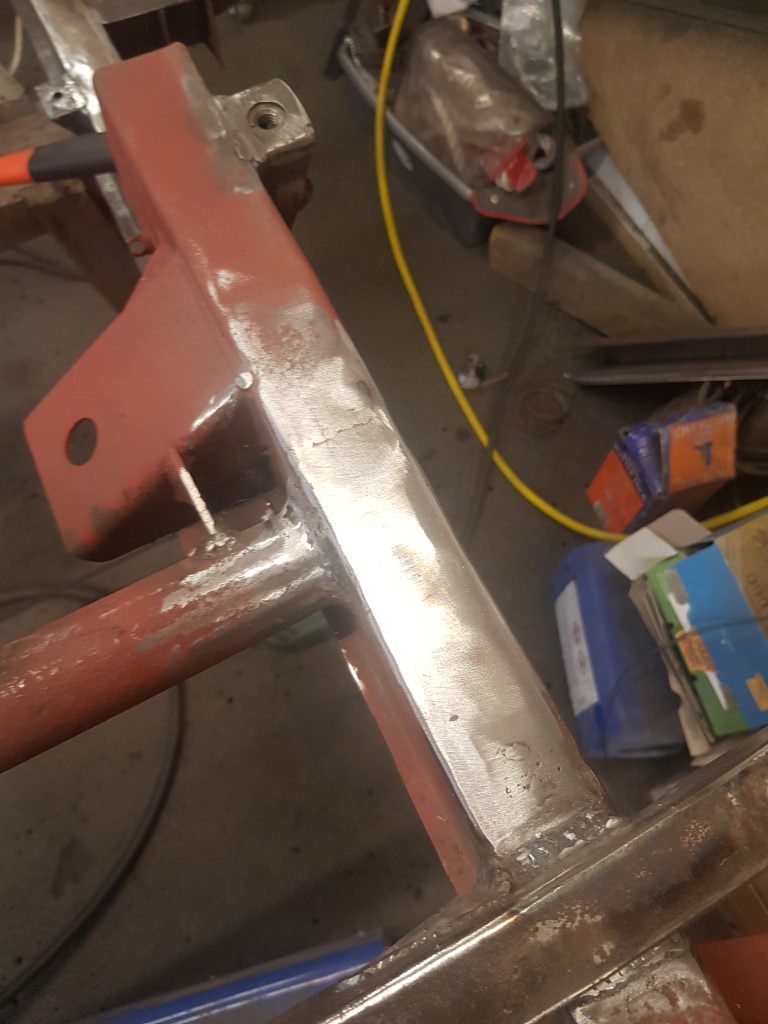
I carried on with the A frame X member brackets shown in the last pic of the previous post, starting with the radiator mounts ...

20200702_131805 (Medium).jpg
20200702_131805 (Medium).jpg (226.14 KiB) Viewed 6731 times


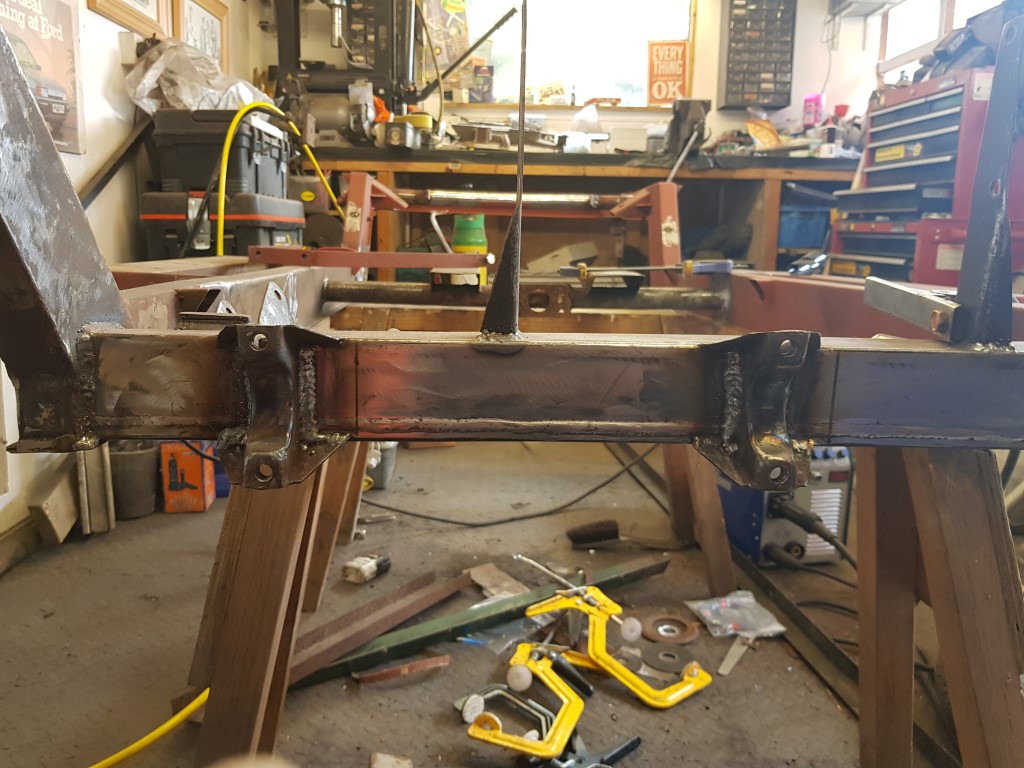
I then attached all the other mounts including the front A frame mounts...

20200702_140713 (Medium).jpg
20200702_140713 (Medium).jpg (337.29 KiB) Viewed 6731 times


20200706_112310 (Medium).jpg
20200706_112310 (Medium).jpg (238.69 KiB) Viewed 6731 times


20200705_212422 (Medium).jpg
20200705_212422 (Medium).jpg (279.46 KiB) Viewed 6731 times


20200706_103204 (Medium).jpg
20200706_103204 (Medium).jpg (305.11 KiB) Viewed 6731 times


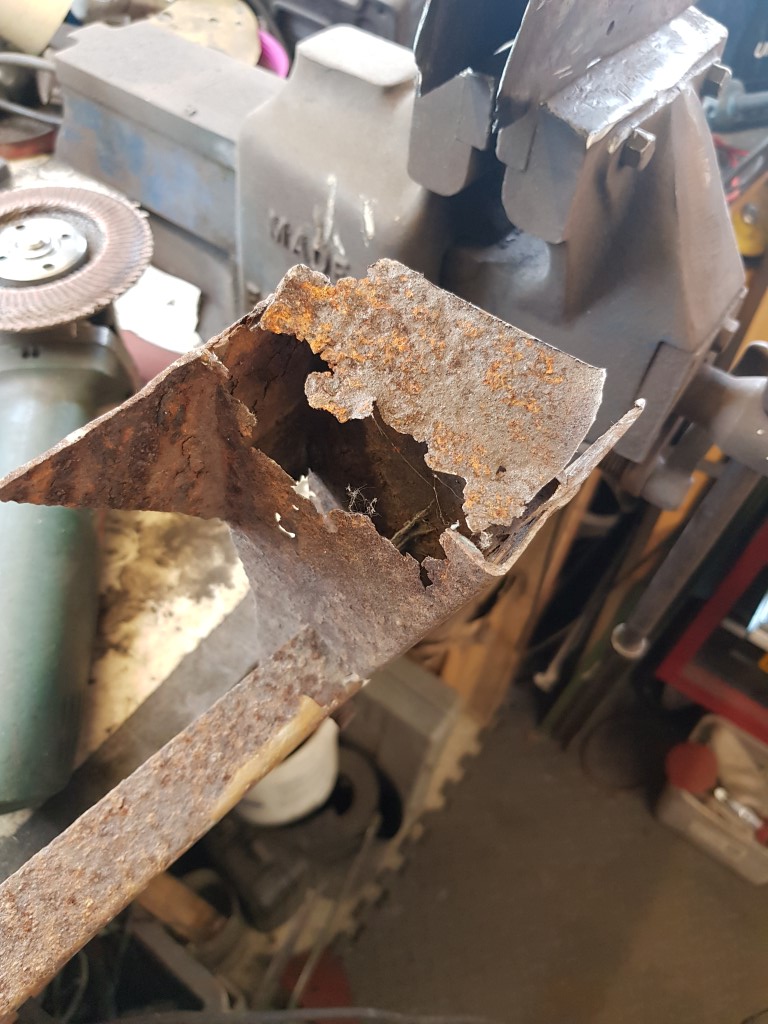
Now this was done i turned my attention to reinstating the drivers side outrigger and also repairing the passenger side one which meant repairing a section of the passenger side chassis rail too...

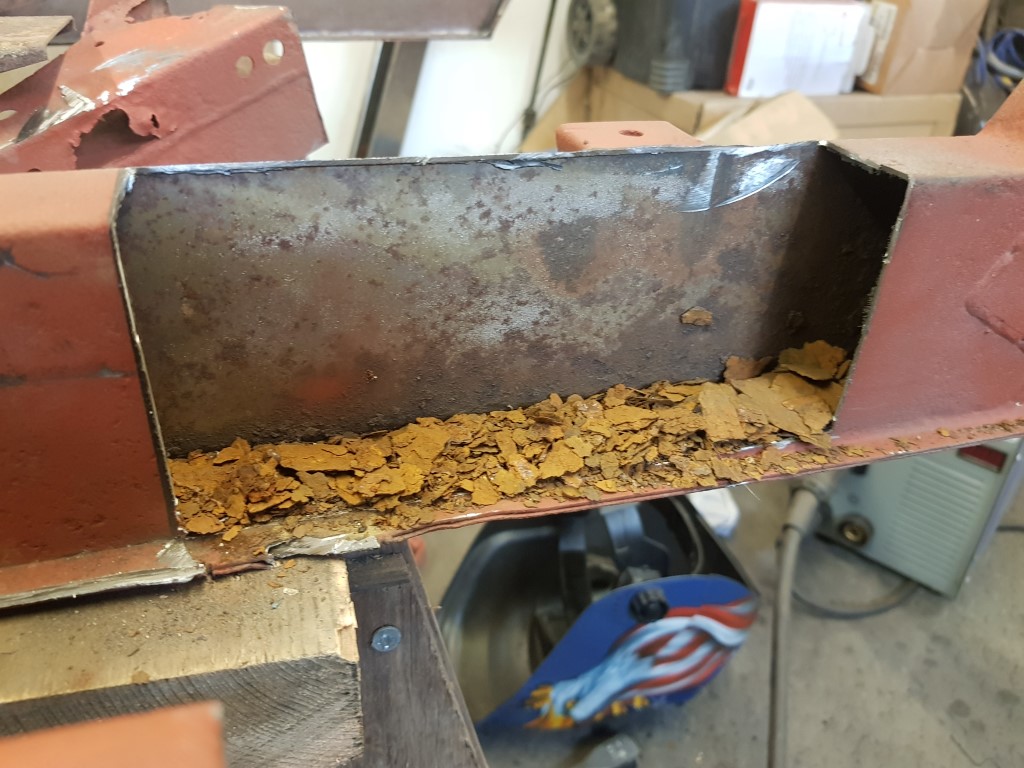
Il start with the drivers side one, i had 4 outriggers which i had to make 2 good ones from...

You can see in the following pic the condition of one end of the outrigger i had, not good, so I used the one good end off the original one i cut off to repair it...

20200630_154434 (Medium).jpg
20200630_154434 (Medium).jpg (228.86 KiB) Viewed 6731 times


20200630_161022 (Medium).jpg
20200630_161022 (Medium).jpg (248.73 KiB) Viewed 6731 times


I also had to weld the rear leaf spring hanger back on then this was welded to the chassis ...

20200702_162322 (Medium).jpg
20200702_162322 (Medium).jpg (292.9 KiB) Viewed 6731 times


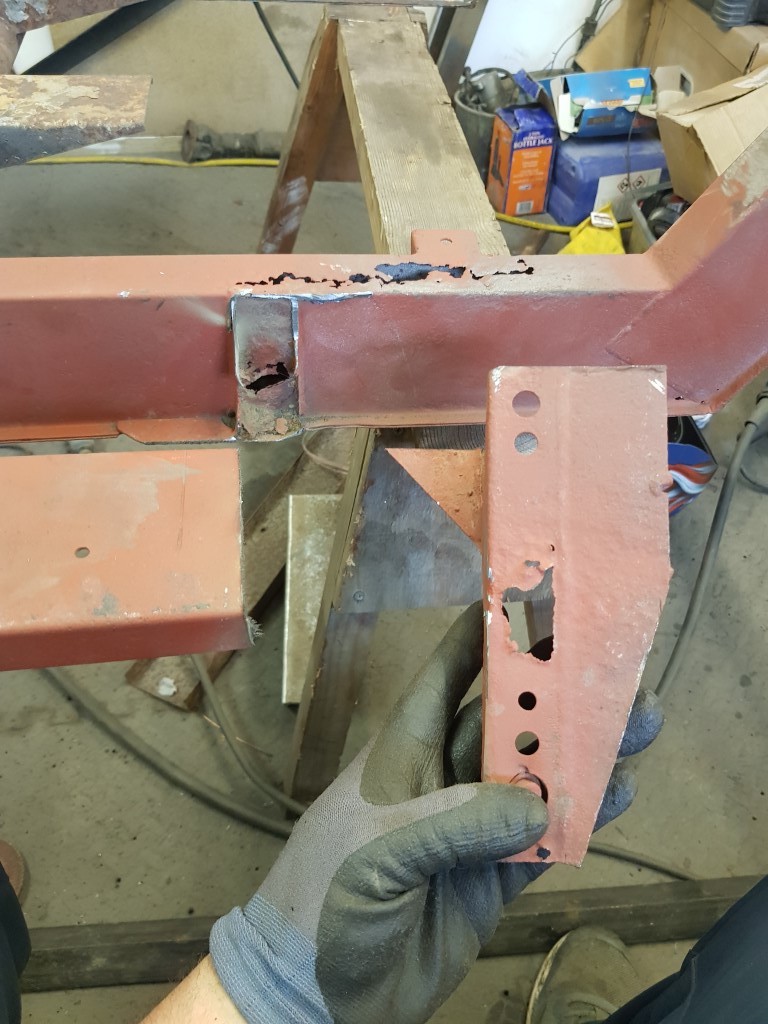
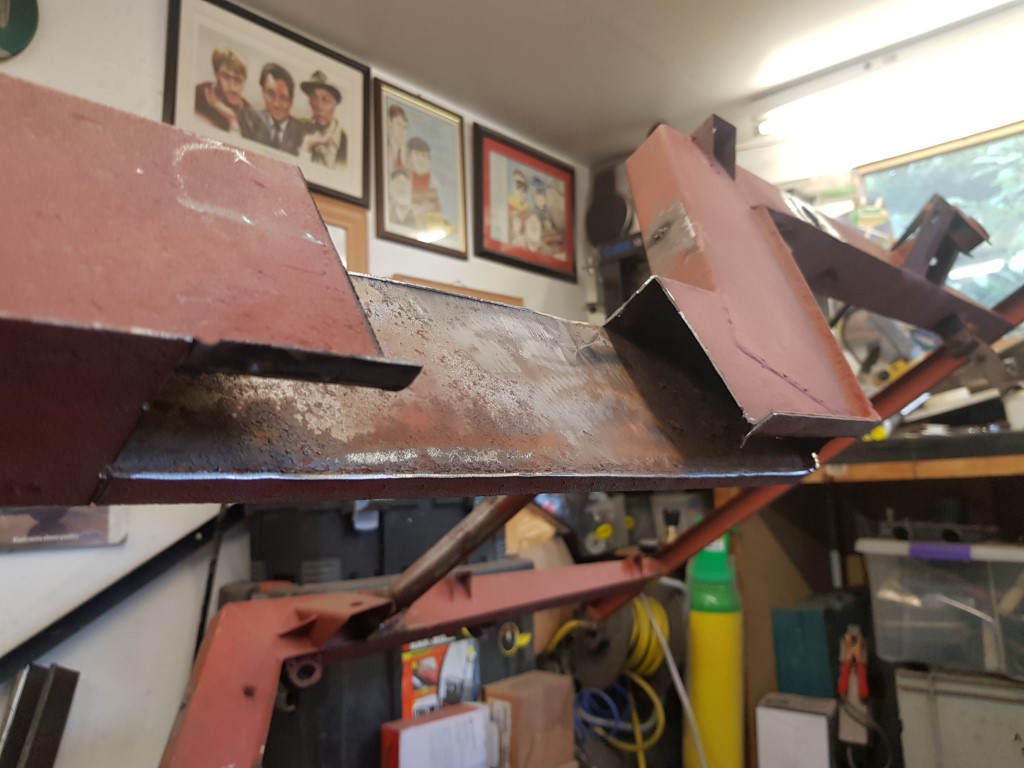
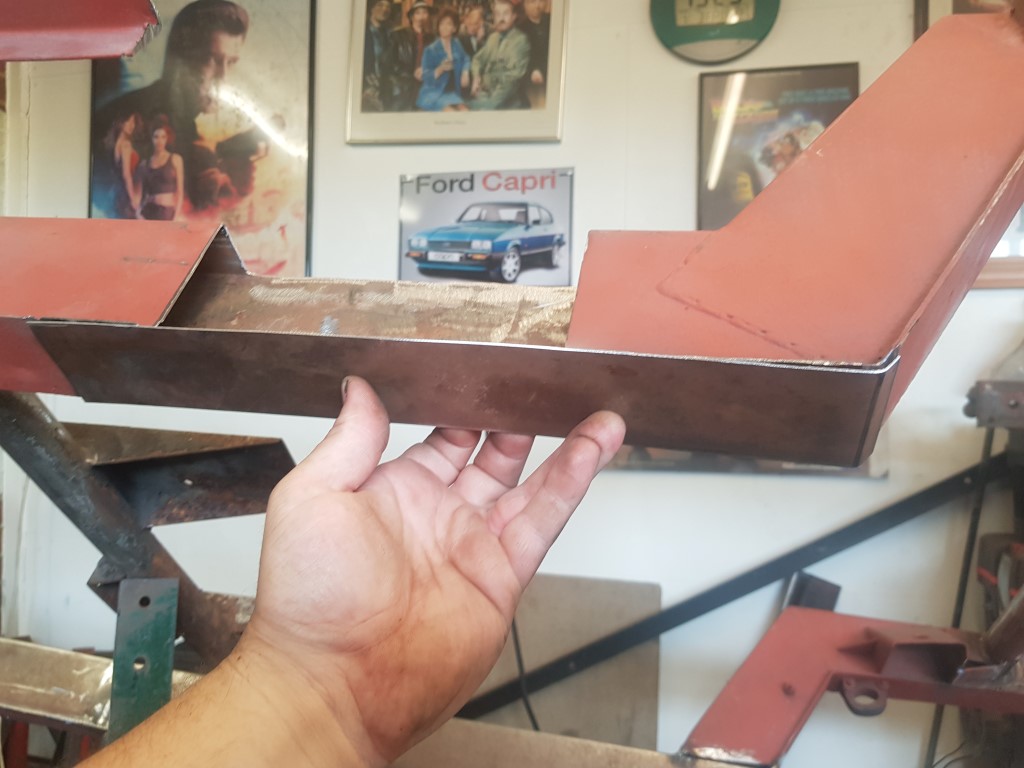
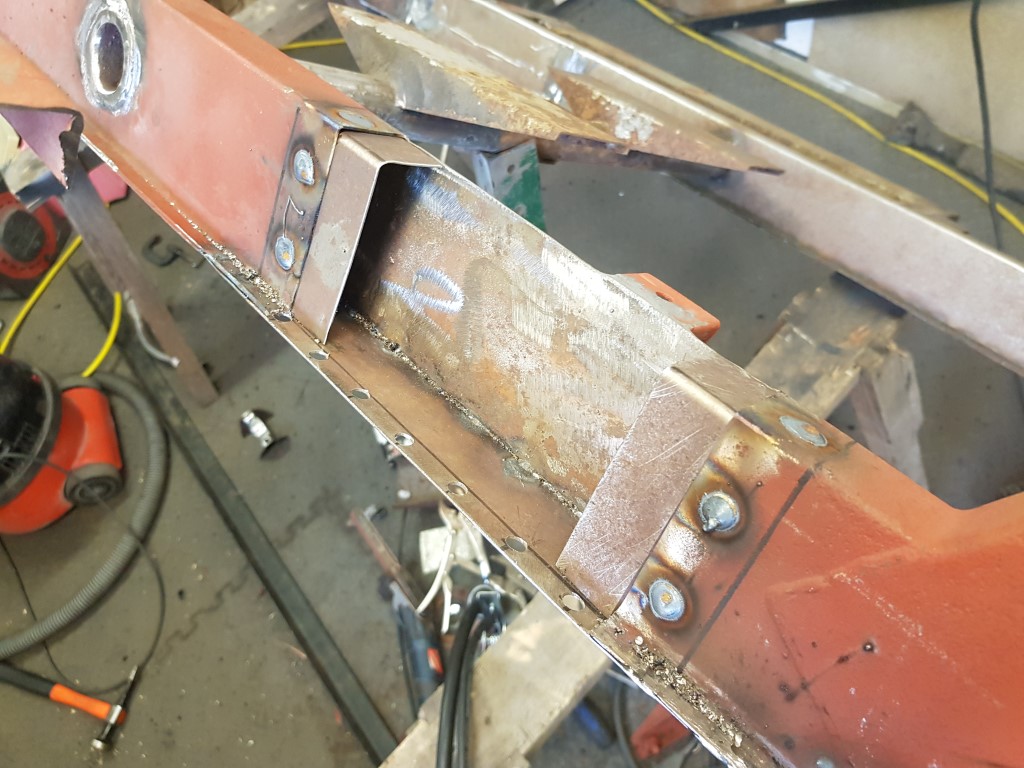
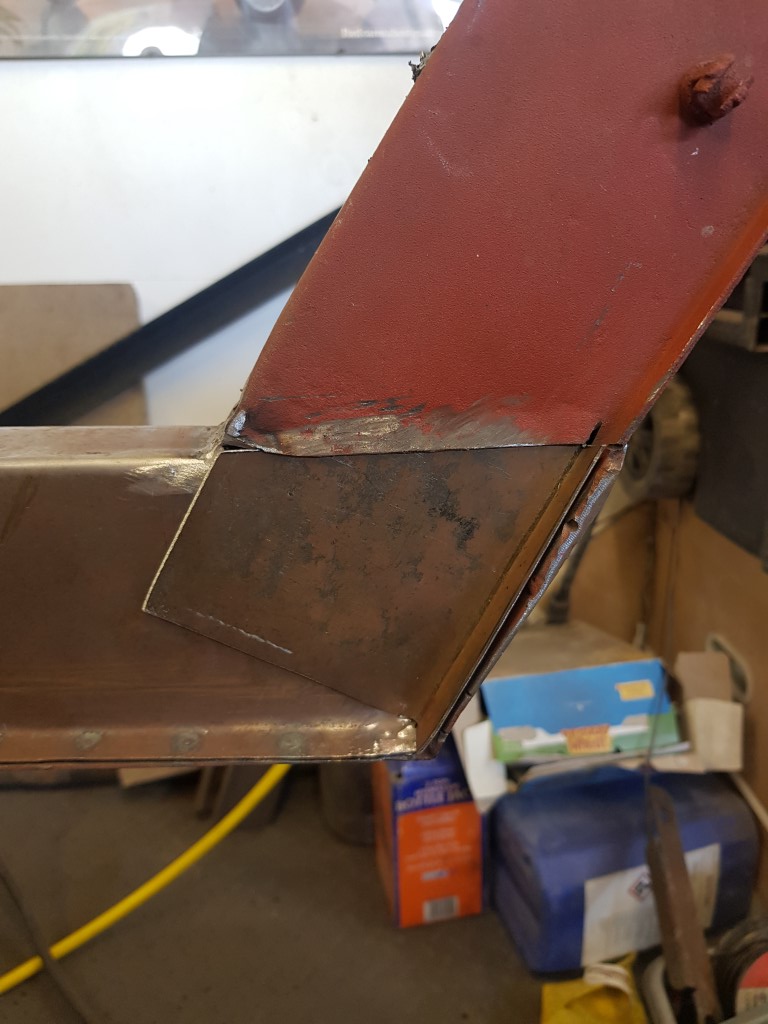
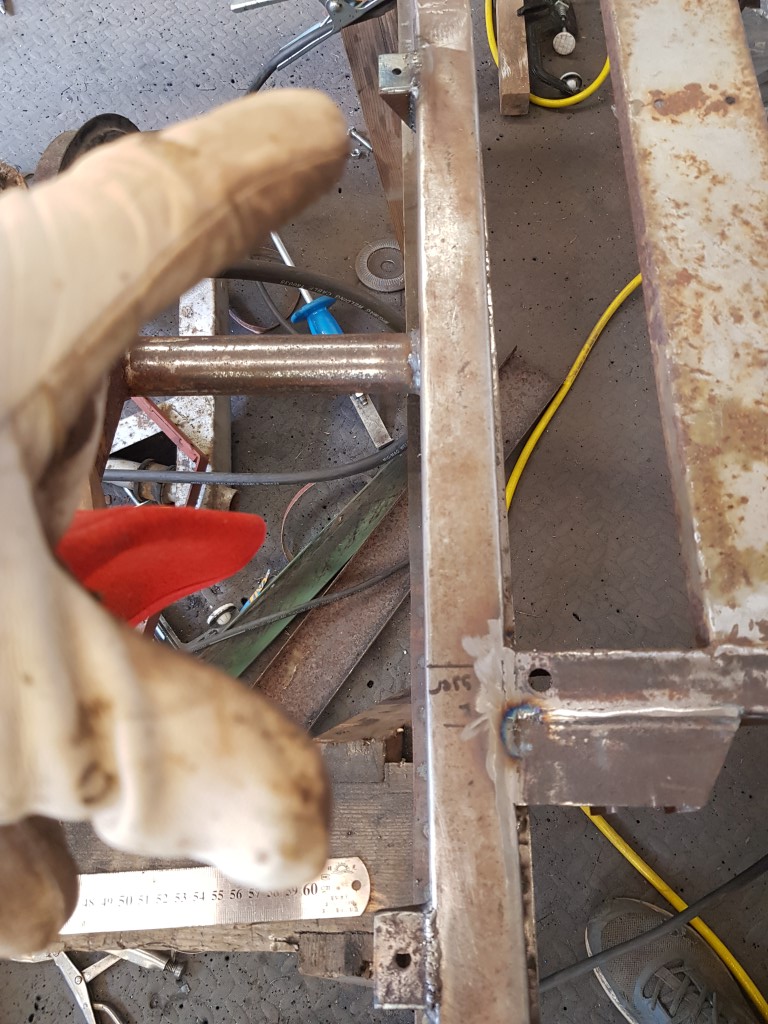
So then i started on the passenger side, again this outrigger was good at one end but not at the other and it had taken part of the chassis rail where it mounts to with it, so more surgery...

20200702_180805 (Medium).jpg
20200702_180805 (Medium).jpg (196.54 KiB) Viewed 6731 times


20200702_182038 (Medium).jpg
20200702_182038 (Medium).jpg (189.33 KiB) Viewed 6731 times


20200702_182159 (Medium).jpg
20200702_182159 (Medium).jpg (187.51 KiB) Viewed 6731 times


20200702_184000 (Medium).jpg
20200702_184000 (Medium).jpg (172.95 KiB) Viewed 6731 times


20200703_133022 (Medium).jpg
20200703_133022 (Medium).jpg (158.7 KiB) Viewed 6731 times


20200703_165120 (Medium).jpg
20200703_165120 (Medium).jpg (156.63 KiB) Viewed 6731 times


20200703_181416 (Medium).jpg
20200703_181416 (Medium).jpg (222.37 KiB) Viewed 6731 times


20200703_183517 (Medium).jpg
20200703_183517 (Medium).jpg (183.06 KiB) Viewed 6731 times


20200703_185216 (Medium).jpg
20200703_185216 (Medium).jpg (191.26 KiB) Viewed 6731 times


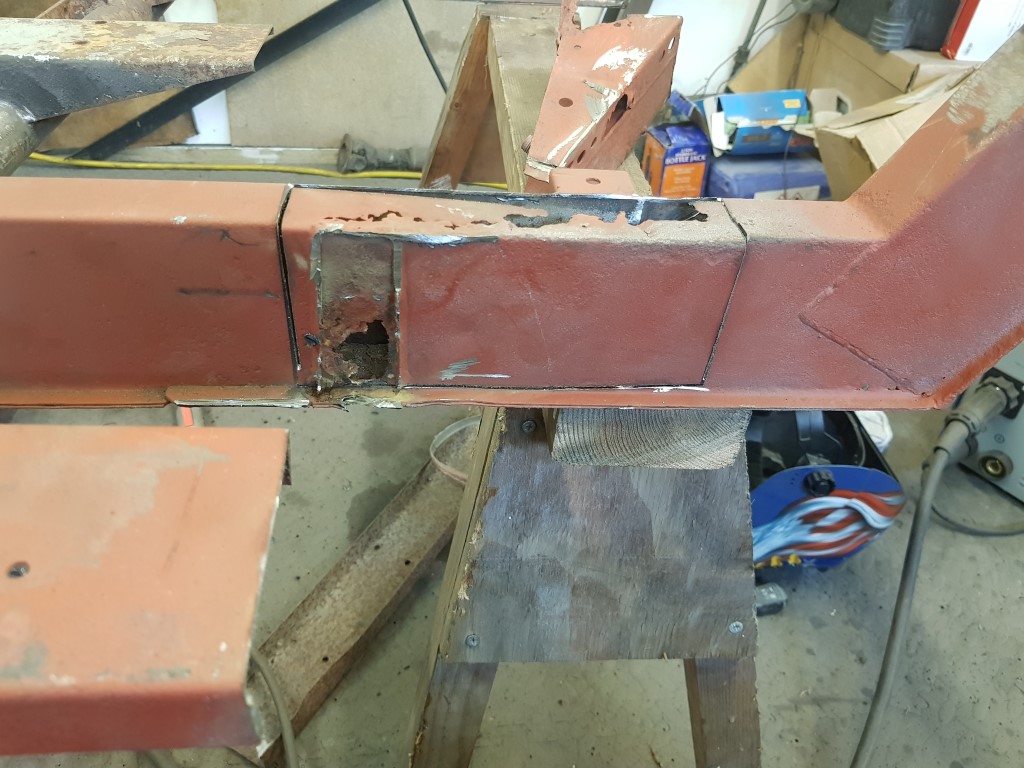
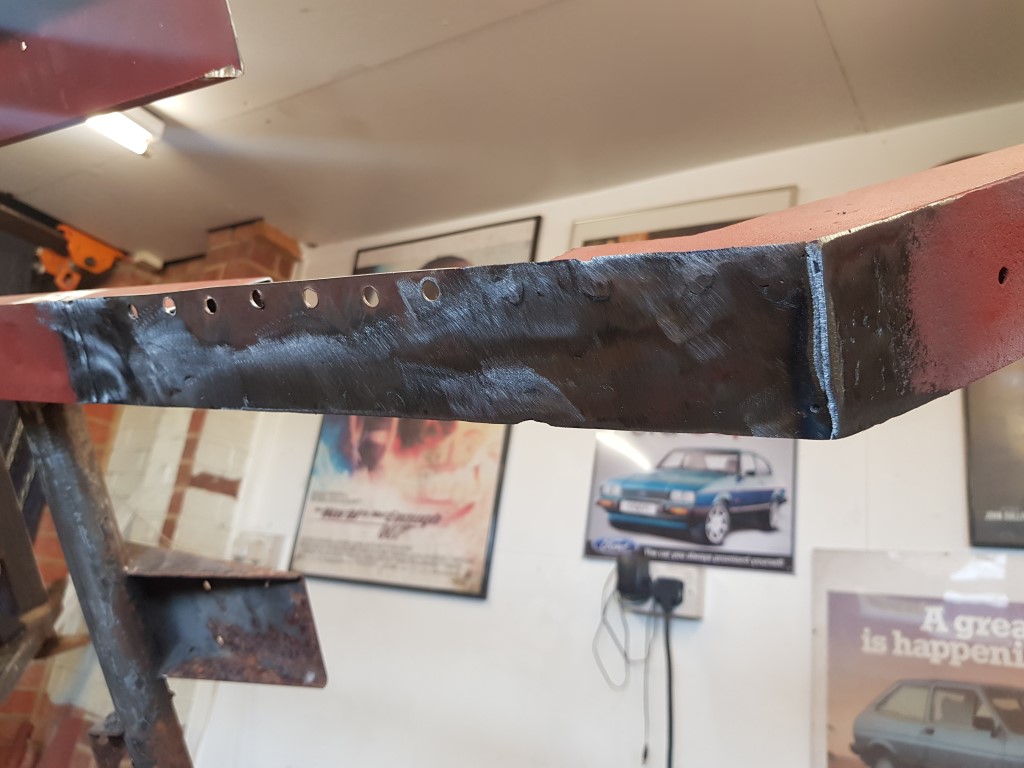
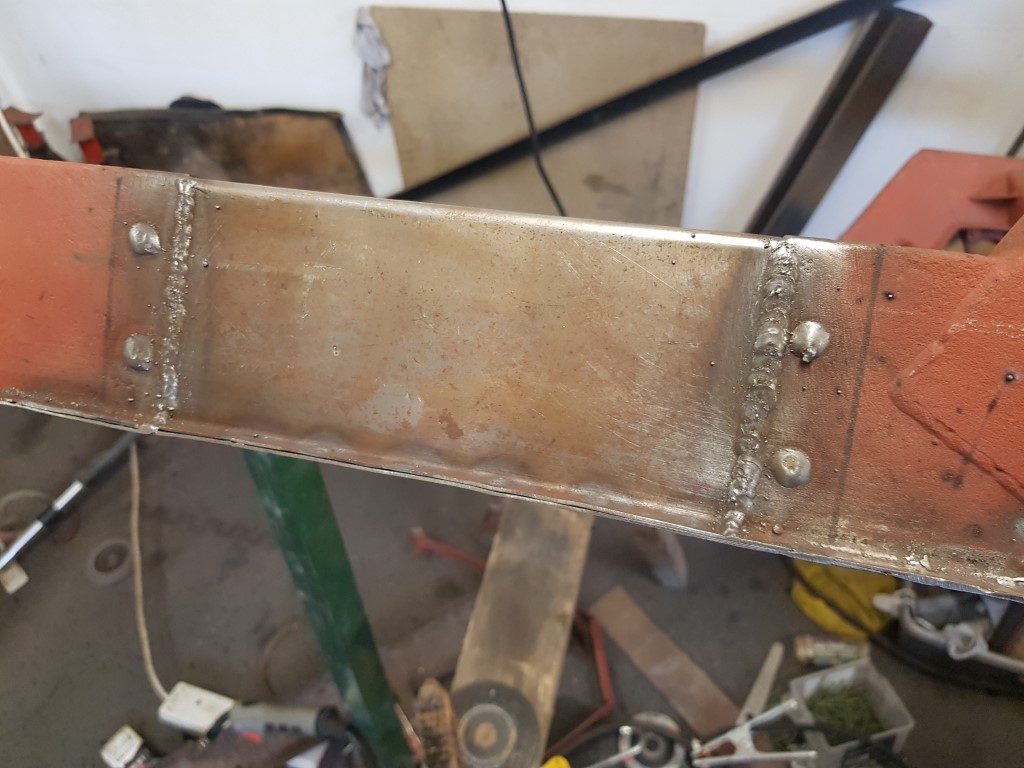
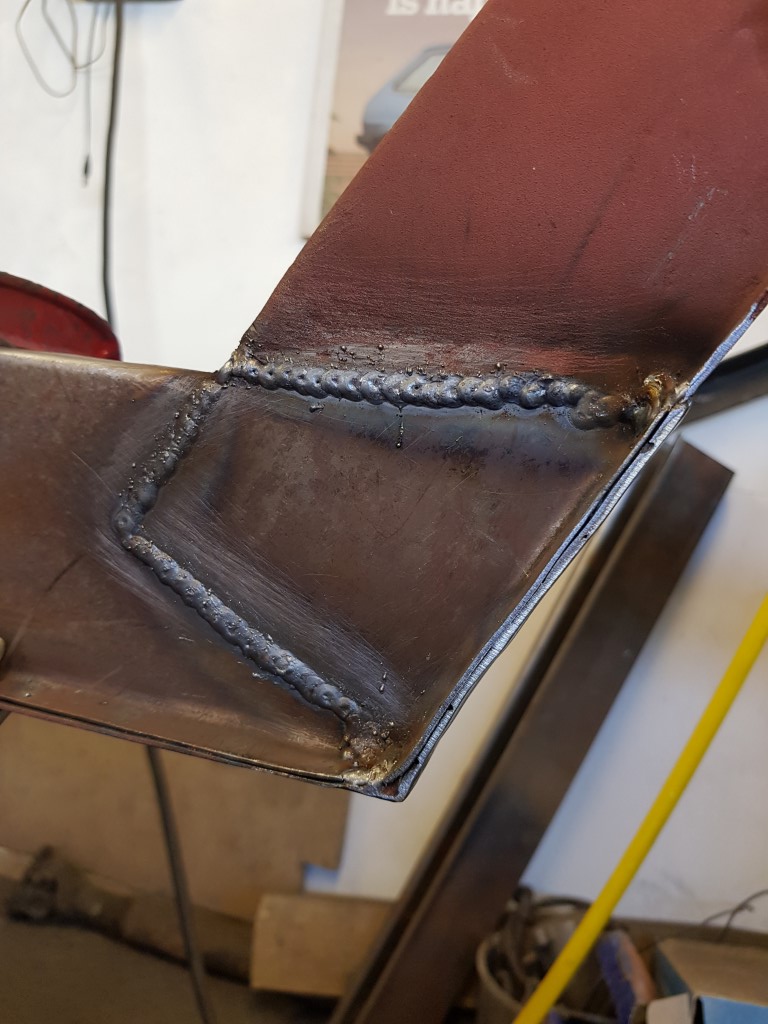
Now with that done, i could get back to the original outrigger repair, a new end was welded on along with the rear leaf spring hanger to complete this repair ...

20200703_212640 (Medium).jpg
20200703_212640 (Medium).jpg (244.14 KiB) Viewed 6731 times


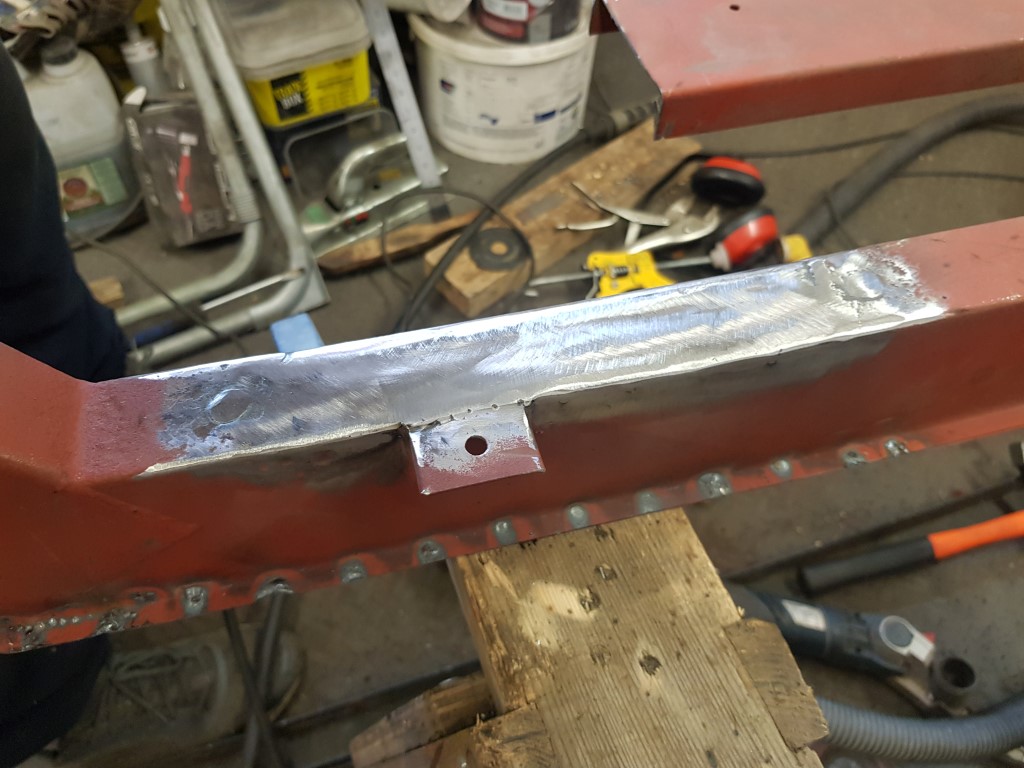
I then went back to the rear of the drivers side chassis rail to finish of the rear overlapping plate as per original, this couldn't be done before as i had a support brace in the way which is now removed...

20200705_122712 (Medium).jpg
20200705_122712 (Medium).jpg (177.13 KiB) Viewed 6731 times


20200705_163536 (Medium).jpg
20200705_163536 (Medium).jpg (199.64 KiB) Viewed 6731 times


I then welded the seat belt frame mounting tabs back on ...

20200705_185236 (Medium).jpg
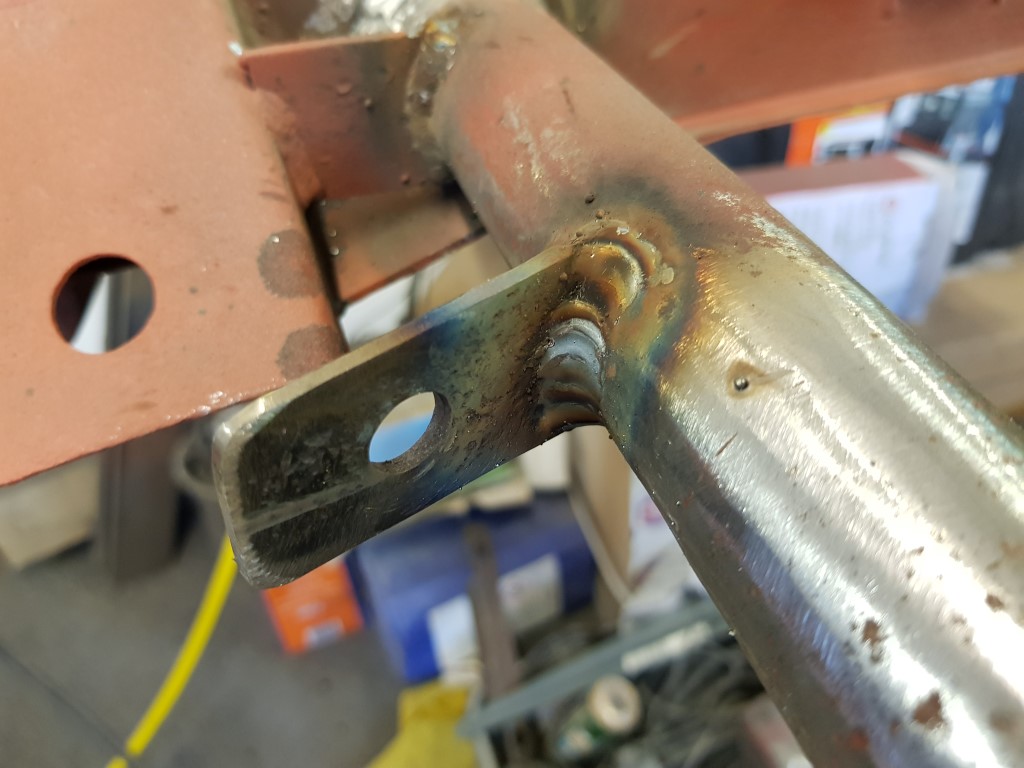
20200705_185236 (Medium).jpg (139.49 KiB) Viewed 6731 times


20200705_184553 (Medium).jpg
20200705_184553 (Medium).jpg (288.29 KiB) Viewed 6731 times


welded these 2 body mounting tabs back on the new chassis rail section...

20200706_162710 (Medium).jpg
20200706_162710 (Medium).jpg (268.29 KiB) Viewed 6731 times


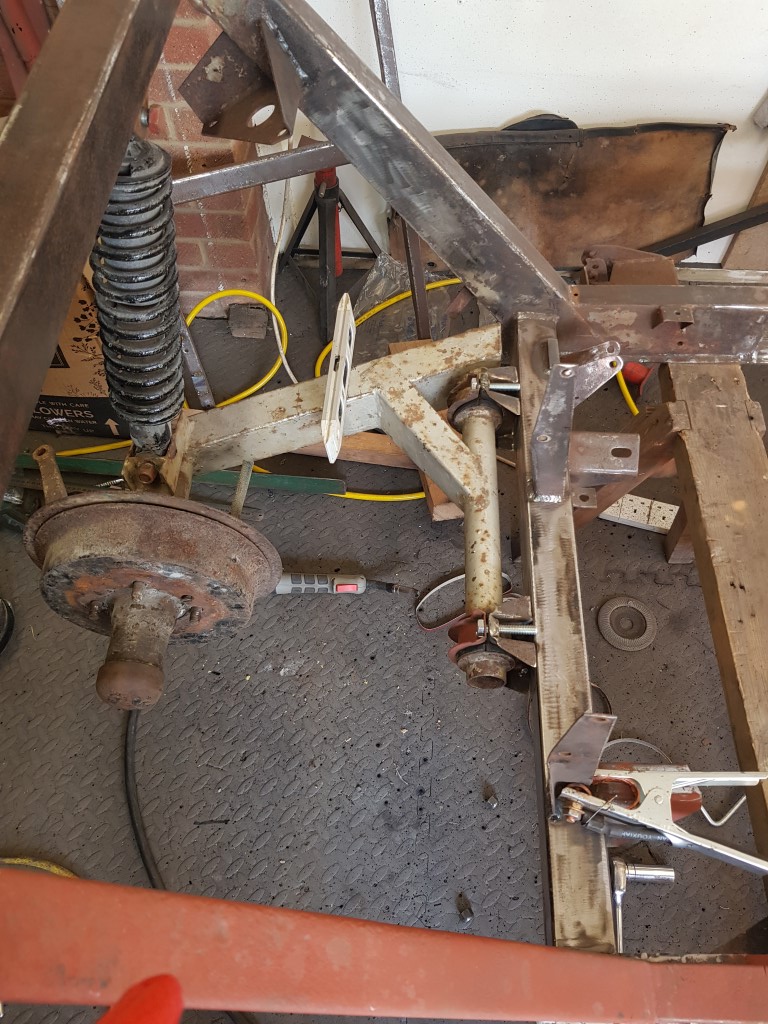
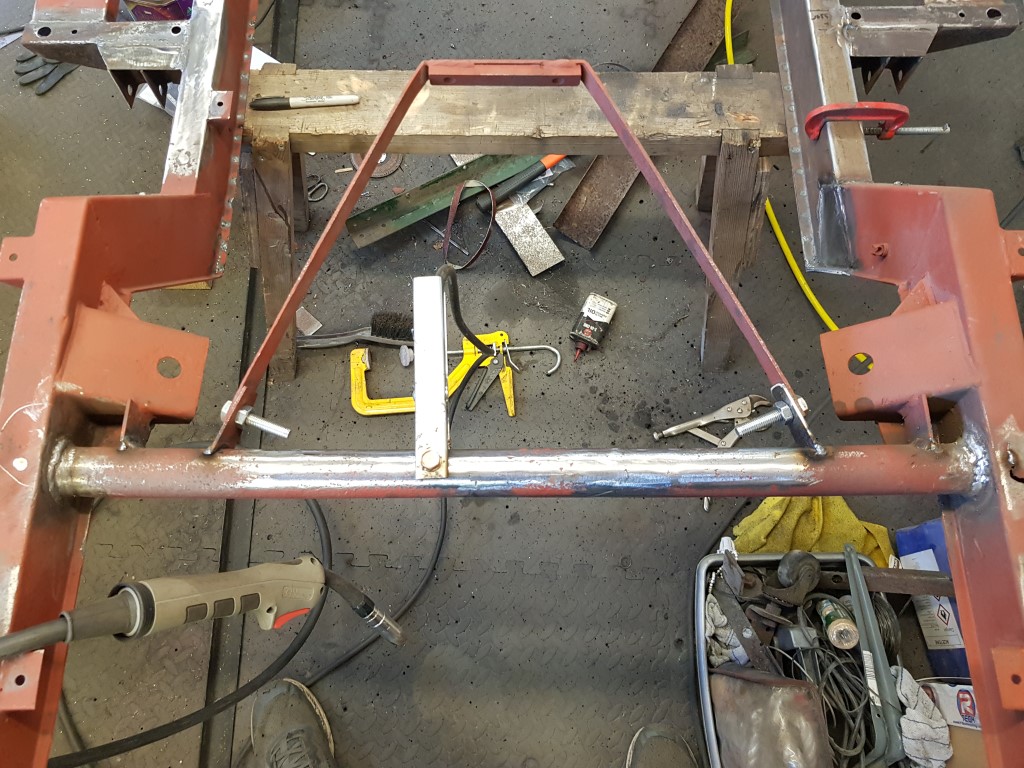
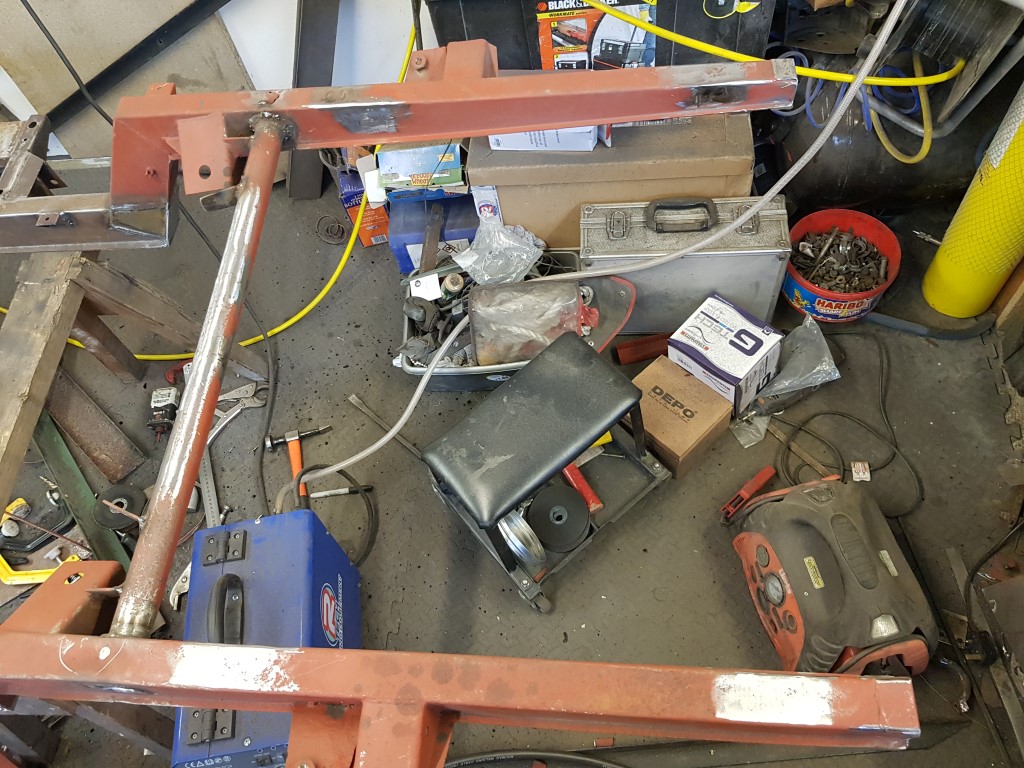
I also deleted the rear X member as only the saloon models had this and replaced it with the now repaired orignal van H frame ...

20200706_192459 (Medium).jpg
20200706_192459 (Medium).jpg (298.95 KiB) Viewed 6731 times


20200706_194816 (Medium).jpg
20200706_194816 (Medium).jpg (315.26 KiB) Viewed 6731 times


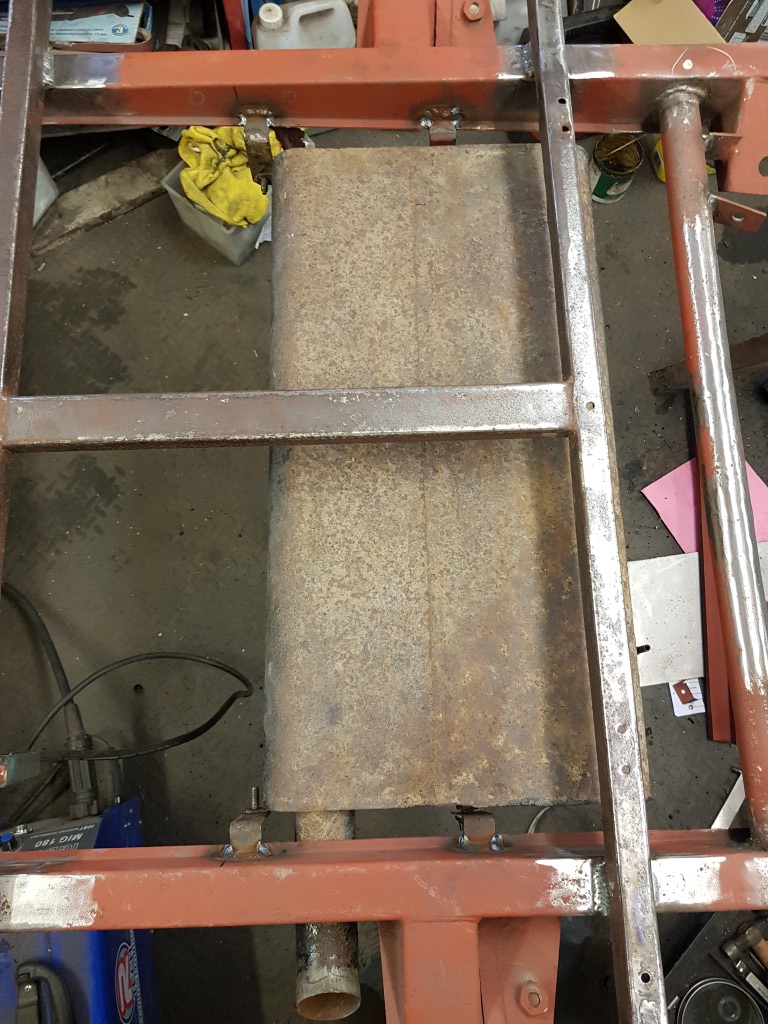
The fuel tank brackets have now been welded on too, 2 of these are originals and 2 i made...

20200708_194440 (Medium).jpg
20200708_194440 (Medium).jpg (287.03 KiB) Viewed 6731 times


So the final welding repair was completed this afternoon...

20200709_145758 (Medium).jpg
20200709_145758 (Medium).jpg (183.16 KiB) Viewed 6731 times


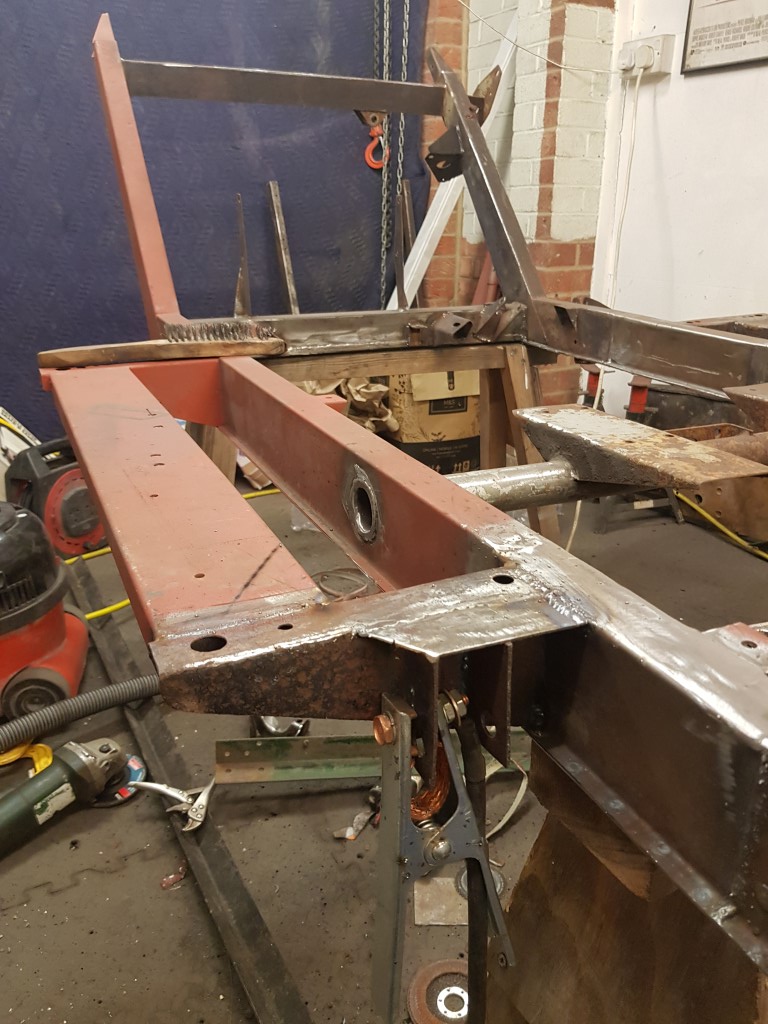
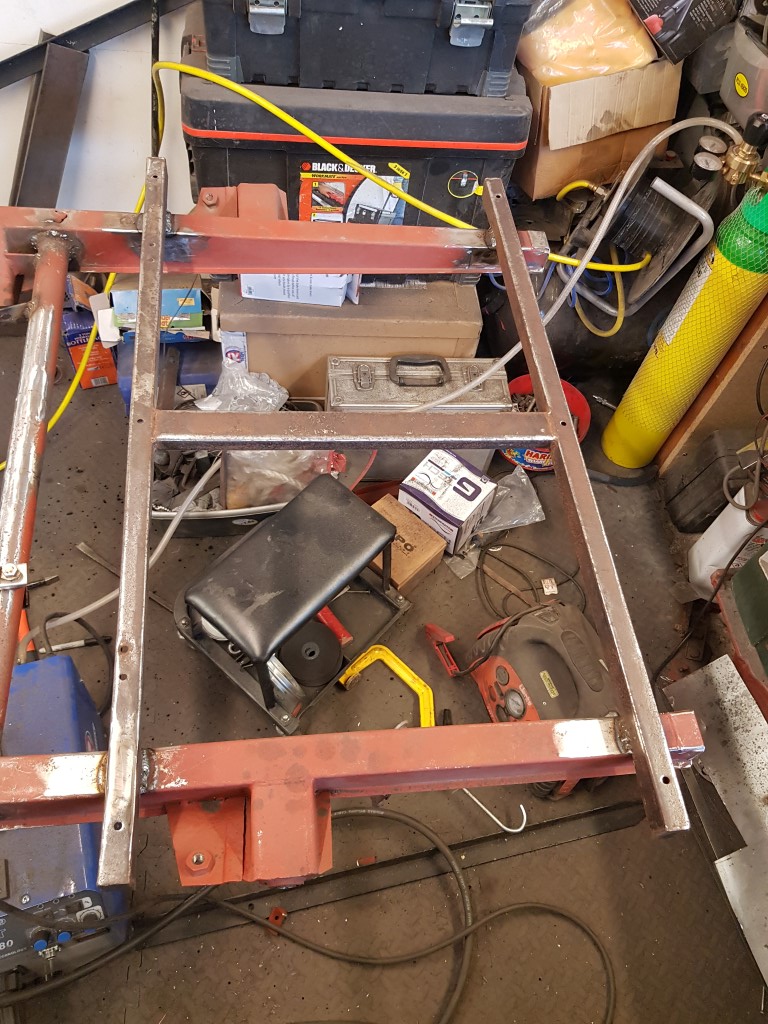
Here is the chassis now after many many hours of work, it doesn't look like much but when its galvanized and powder coated I'm hoping it will look good...

20200709_151737 (Medium).jpg
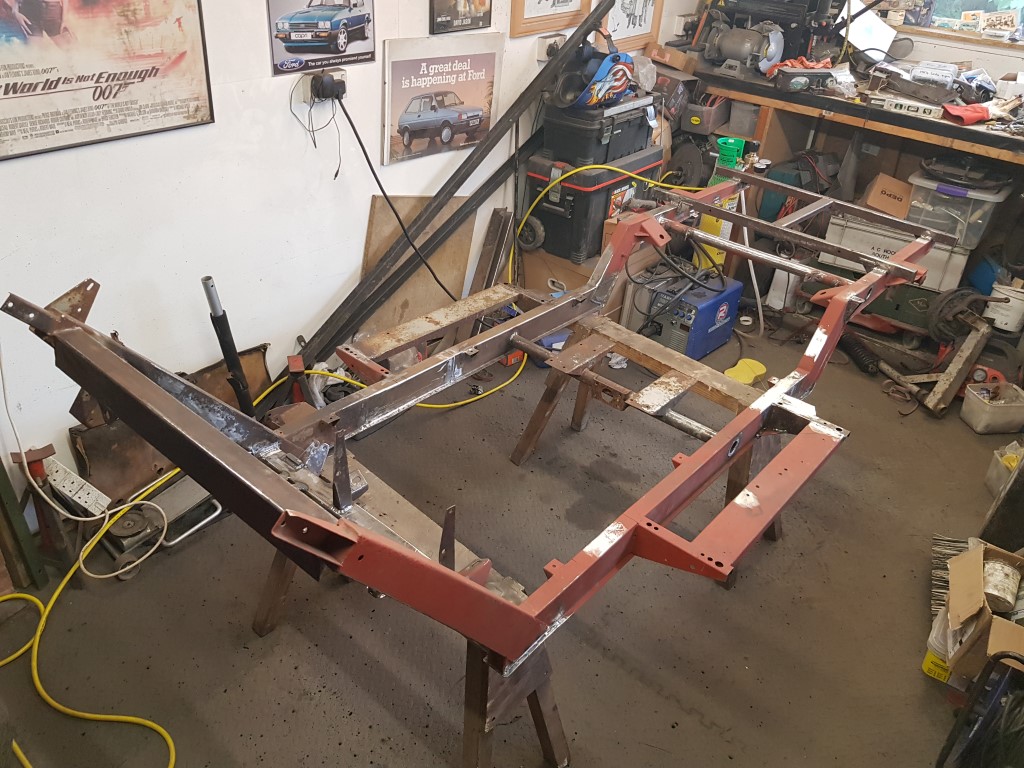
20200709_151737 (Medium).jpg (275.78 KiB) Viewed 6731 times


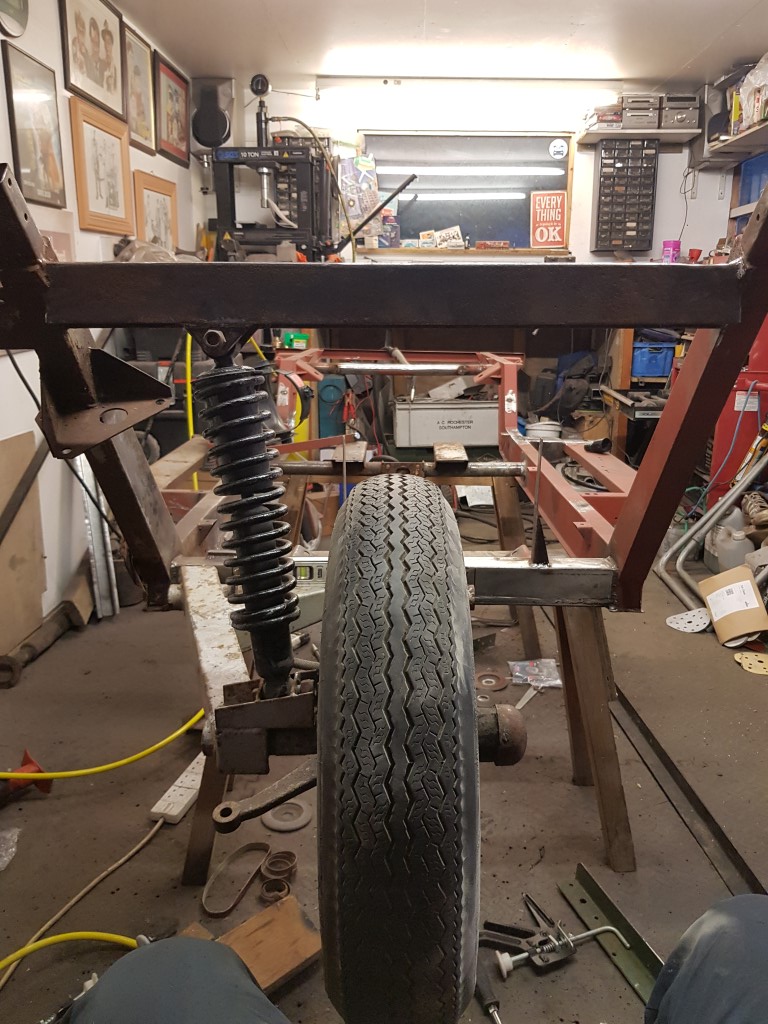
And finally, quite a moment, for the 1st time the chassis is on its very own 3 wheels !! ...

20200709_172557 (Medium).jpg
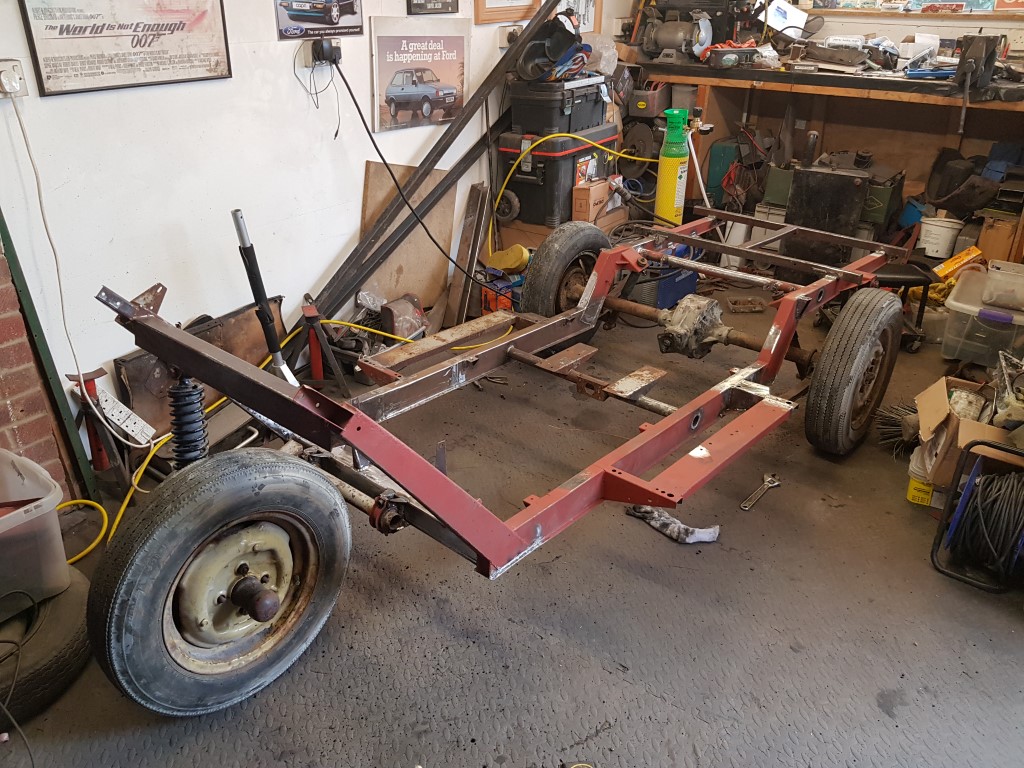
20200709_172557 (Medium).jpg (313 KiB) Viewed 6731 times


I got 3 wheels on my wagon and I just keep rolling along :dance: :dance: :dance:

Stay safe everyone :thumbsup: :thumbsup: :thumbsup: :thumbsup: :mrgreen: :mrgreen: :mrgreen: :mrgreen:

Re: Project "Plonker"

PostPosted: Fri Jul 10, 2020 7:27 am
by bandit
Mega job, (or should I say ‘Mec’a job’ ;) ) top work as ever, that looks great. Just one thing, why had someone been storing cornflakes in your chassis? :D

Re: Project "Plonker"

PostPosted: Fri Jul 10, 2020 2:39 pm
by cis6409
Fabulous work there mec, fair play to ya!

It's gonna look better than new when it's galvanised and powdercoated!

Excellent to see
Shane

Re: Project "Plonker"

PostPosted: Sat Jul 11, 2020 12:24 am
by mec
Thanks Me Julie, Ha ha yea that did look a bit like crunchy nut :lol: ;)

Thanks Shane, hope you have had a bit of D time too :thumbsup: :thumbsup:

Re: Project "Plonker"

PostPosted: Sat Jul 18, 2020 9:01 pm
by mec
Hi all
Little update for u guys, i got the engine fitted last wednesday which all fits fine...

20200710_115315.jpg
20200710_115315.jpg (4.8 MiB) Viewed 6639 times


Then thursday was quite a momentus day in the restoration, the body and chassis met for the 1st time ! ...

20200715_112010.jpg
20200715_112010.jpg (4.27 MiB) Viewed 6639 times


20200715_112032.jpg
20200715_112032.jpg (4.71 MiB) Viewed 6639 times


20200715_113216.jpg
20200715_113216.jpg (3.92 MiB) Viewed 6639 times


20200715_113208.jpg
20200715_113208.jpg (3.93 MiB) Viewed 6639 times


20200715_113227.jpg
20200715_113227.jpg (3.99 MiB) Viewed 6639 times


20200715_113245.jpg
20200715_113245.jpg (3.57 MiB) Viewed 6639 times


20200717_233345.jpg
20200717_233345.jpg (5.9 MiB) Viewed 6639 times


So there we are, it all fits and the measurement between the rear wheels and arches are within 3mm of each other, as is the front wheel to either front wing, considering how many different repairs ive done and how many different parts have come together im well happy with that :dance: :dance:

Also i got a facebook bargain with some Mk2 Mx5 seats for free ! ...

20200708_213256.jpg
20200708_213256.jpg (2.93 MiB) Viewed 6639 times


All i had to buy was the runners which i got for a tenner ! So ive been fitting these too ...

20200715_123103.jpg
20200715_123103.jpg (3.25 MiB) Viewed 6639 times


I made extra strentheners from angle iron for the seats to bolt too...

20200716_160543.jpg
20200716_160543.jpg (2.99 MiB) Viewed 6639 times


The drivers side is fitted so far ...

20200716_170819.jpg
20200716_170819.jpg (3.52 MiB) Viewed 6639 times


These are so much more comfortable than the original deck chair style seats and they fit nicely too, ive been drilling all the mouting holes back in the body too, now ive gota fit a few more things like pedals and the steering column to make sure they fit ok, then i gota take it all apart again ! thats it for now folks :mrgreen: :mrgreen:

Re: Project "Plonker"

PostPosted: Tue Jul 21, 2020 2:45 pm
by cis6409
Savage work there mec great to see it matched up to the body again a-ok!
Lovely find on the seats to

Shane

Re: Project "Plonker"

PostPosted: Tue Jul 21, 2020 11:22 pm
by mec
Thanks Shane !! :mrgreen: glad u like it :thumbsup: