Re: VIN 4566 Restoration
I think Jason has different calipers maybe from a Princess? Jason?
The DeLorean Club UK forum for European DeLorean owners and enthusiasts.
http://www.deloreaneurotec.uk/
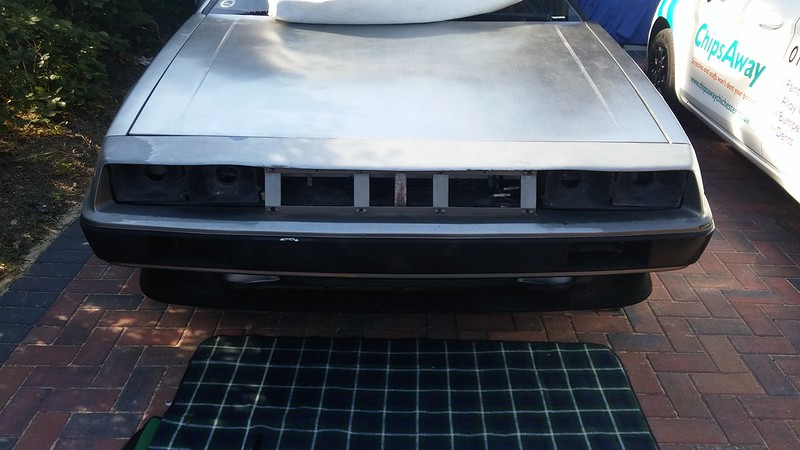 DeLorean works by Dan Willis, on Flickr
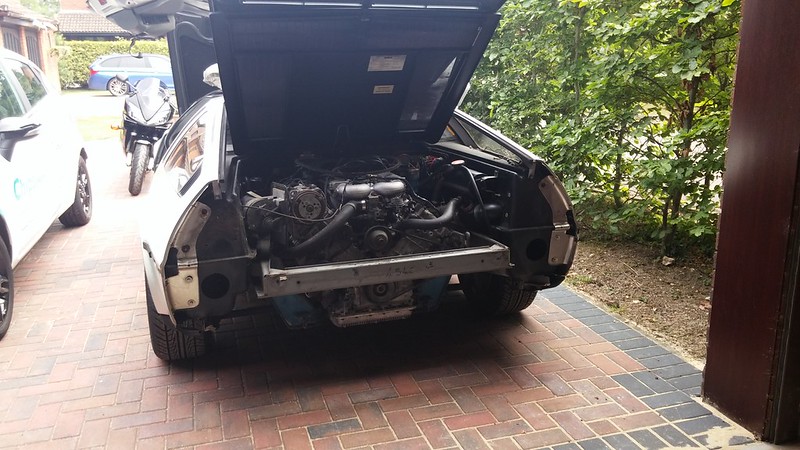 DeLorean works by Dan Willis, on Flickr
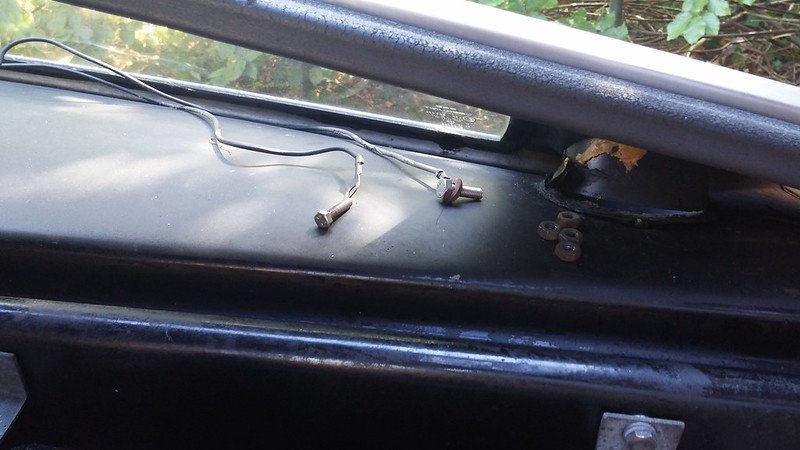 DeLorean works by Dan Willis, on Flickr
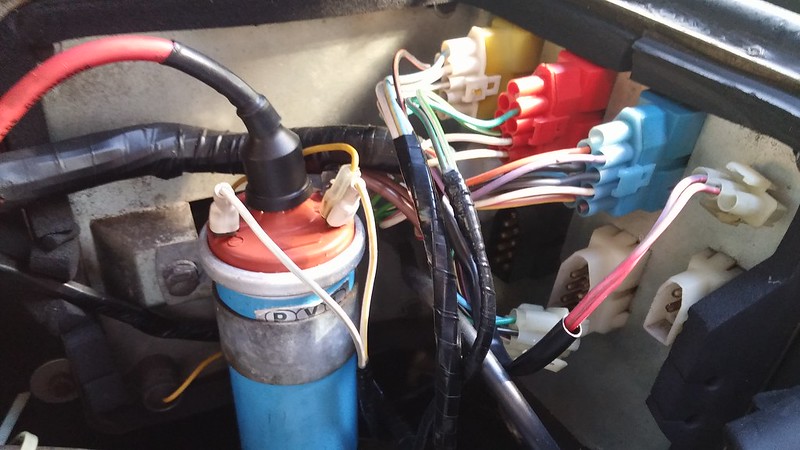 DeLorean works by Dan Willis, on Flickr
 DeLorean works by Dan Willis, on Flickr
 DeLorean works by Dan Willis, on Flickr
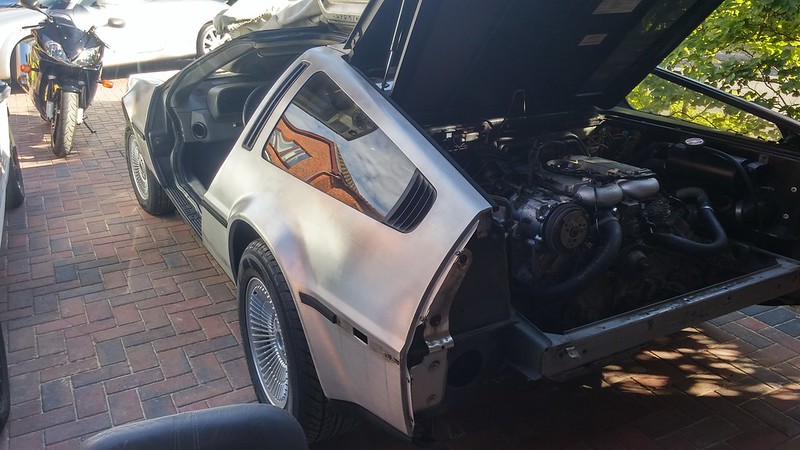 DeLorean works by Dan Willis, on Flickr
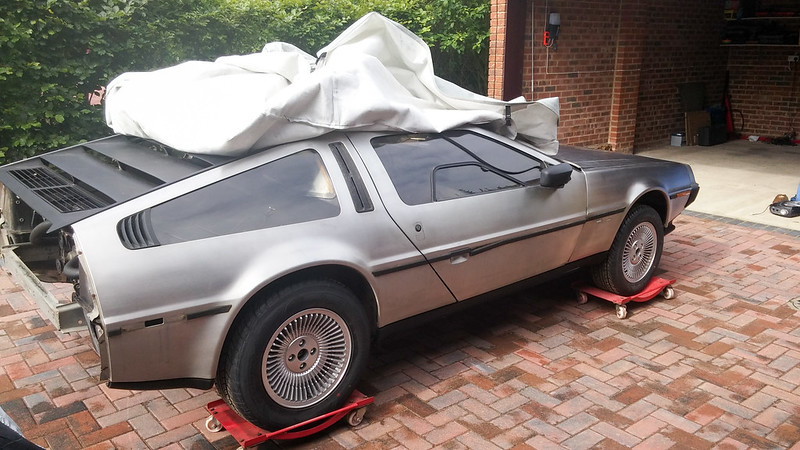 Delorean Works-2 by Dan Willis, on Flickr
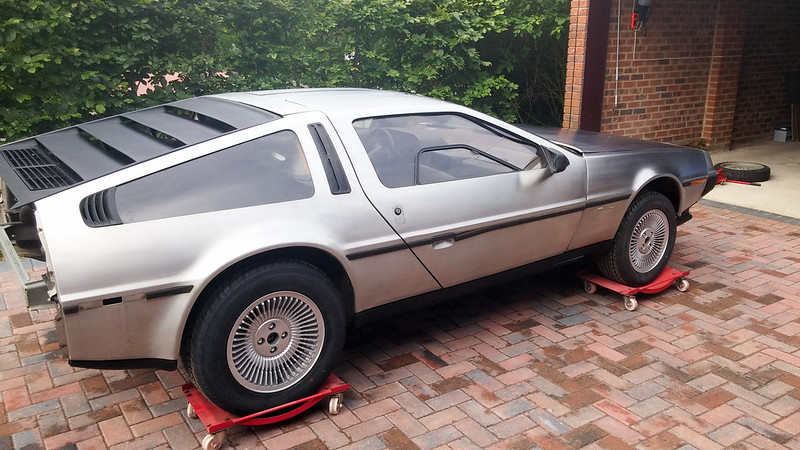 Delorean Works-6 by Dan Willis, on Flickr
 Delorean Works-7 by Dan Willis, on Flickr
 Delorean Works-11 by Dan Willis, on Flickr
 Delorean Works-19 by Dan Willis, on Flickr
 Delorean Works-21 by Dan Willis, on Flickr
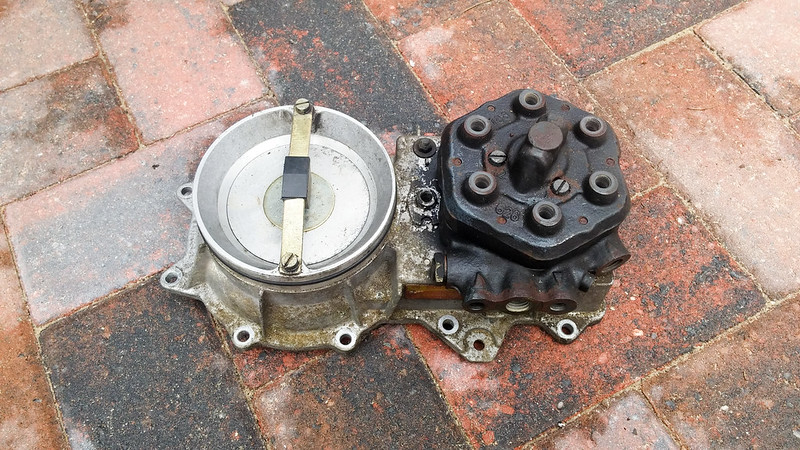 Delorean Works-23 by Dan Willis, on Flickr
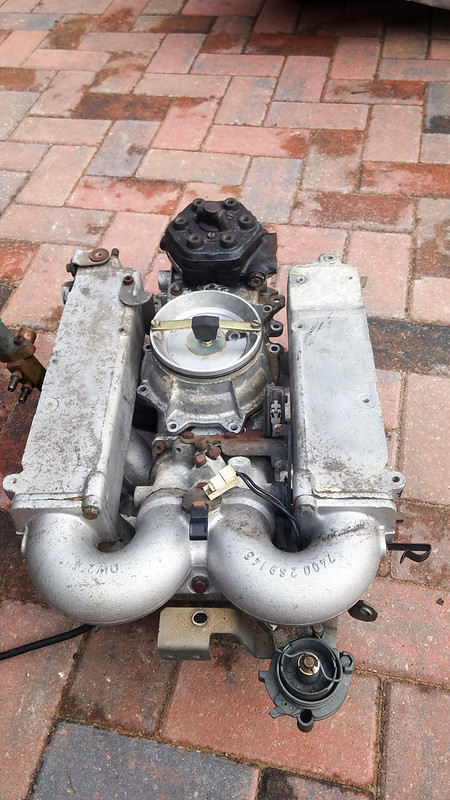 Delorean Works-25 by Dan Willis, on Flickr
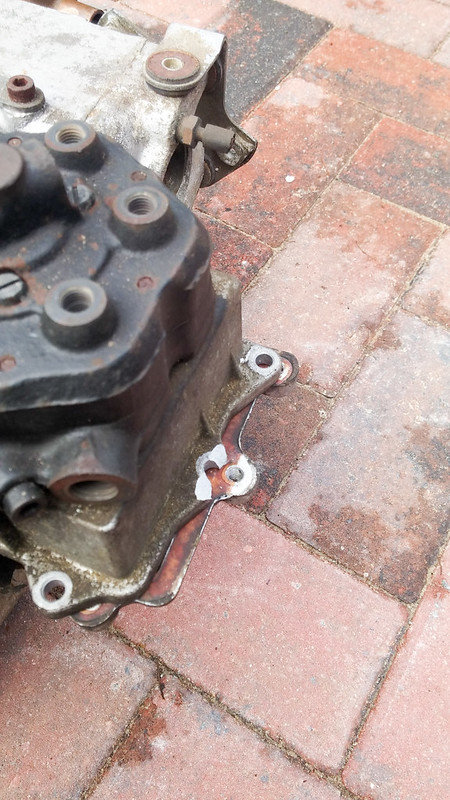 Delorean Works-26 by Dan Willis, on Flickr
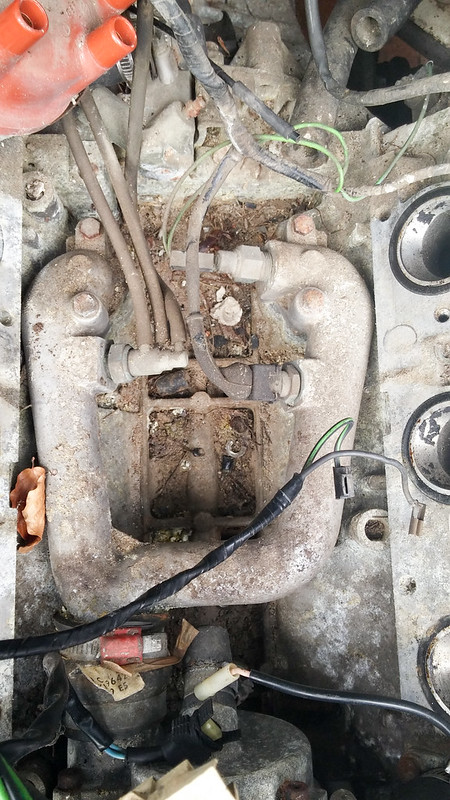 Delorean Works-27 by Dan Willis, on Flickr
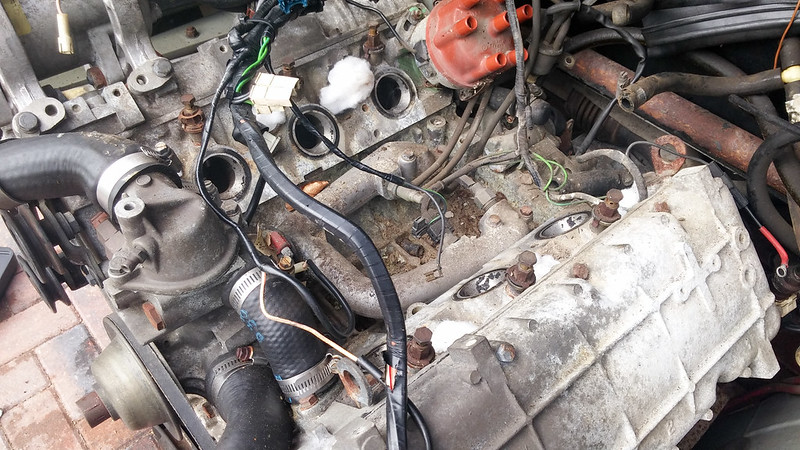 Delorean Works-28 by Dan Willis, on Flickr
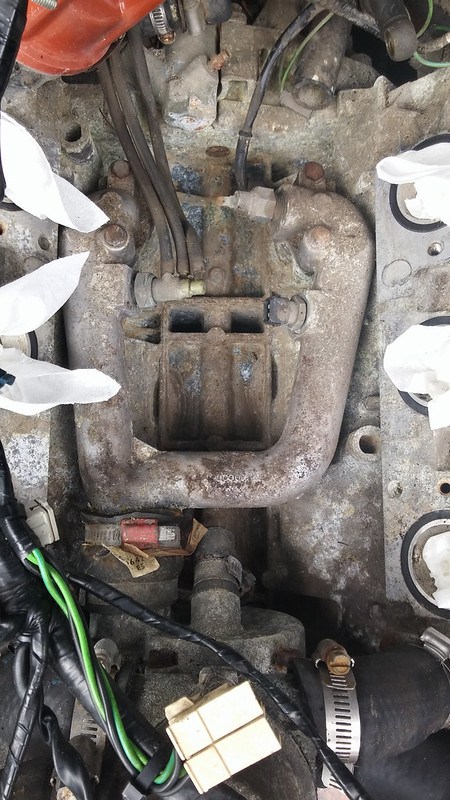 Delorean Works-31 by Dan Willis, on Flickr
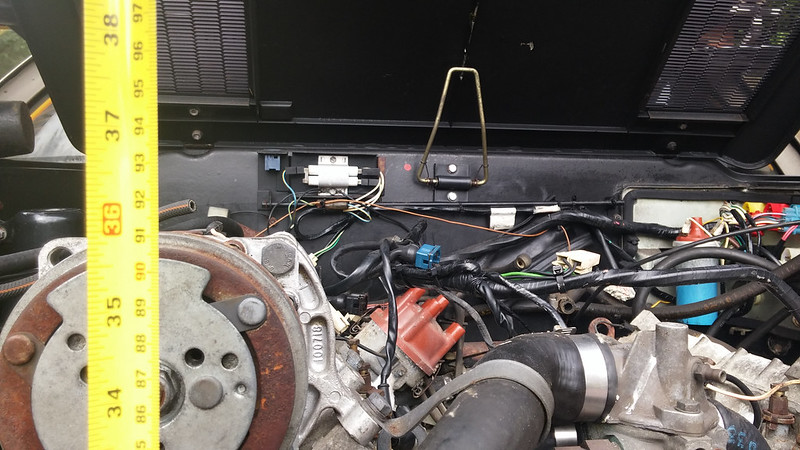 Delorean Works-30 by Dan Willis, on Flickr
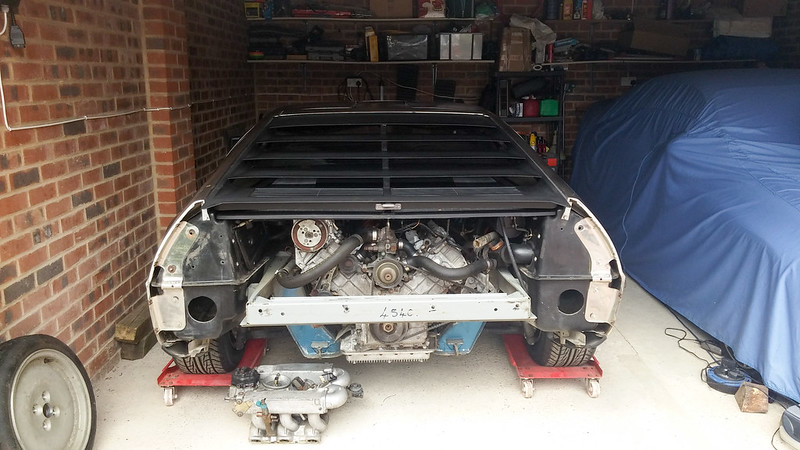 Delorean Works-34 by Dan Willis, on Flickr
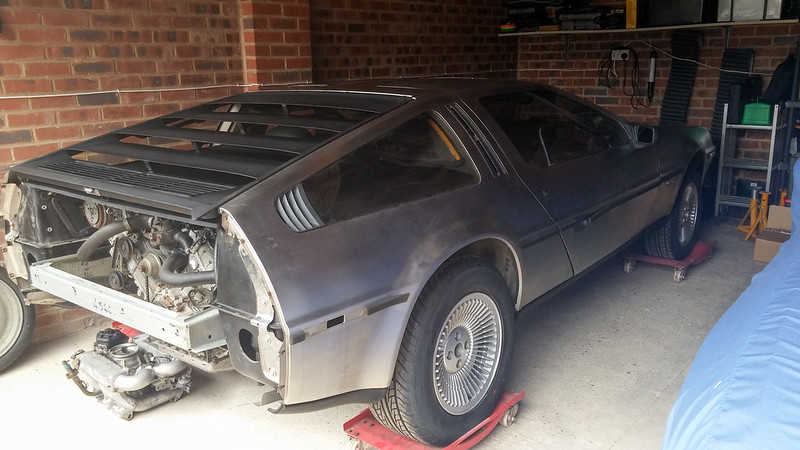 Delorean Works-36 by Dan Willis, on Flickr
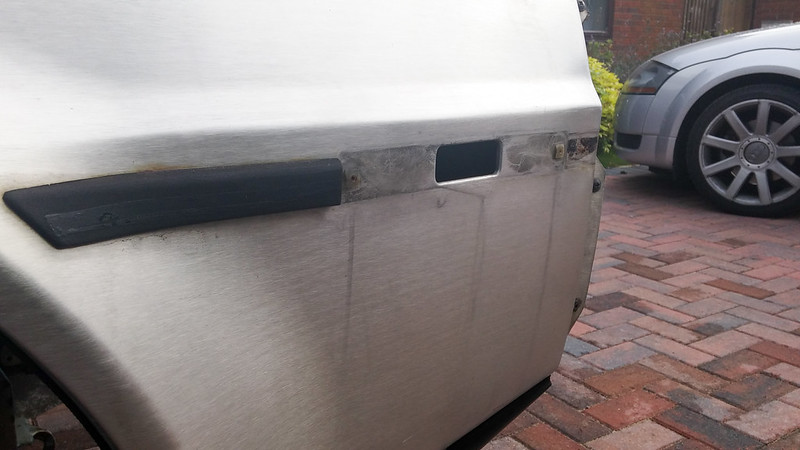 Delorean Works-18 by Dan Willis, on Flickr
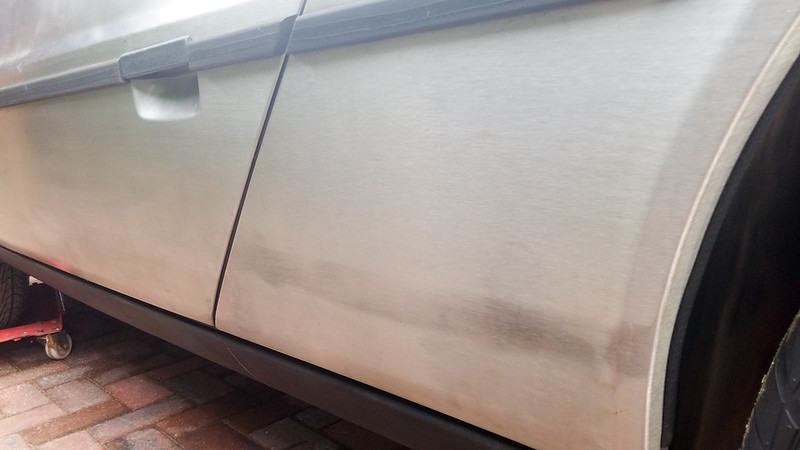 Delorean Works-17 by Dan Willis, on Flickr
 Delorean Works-16 by Dan Willis, on Flickr
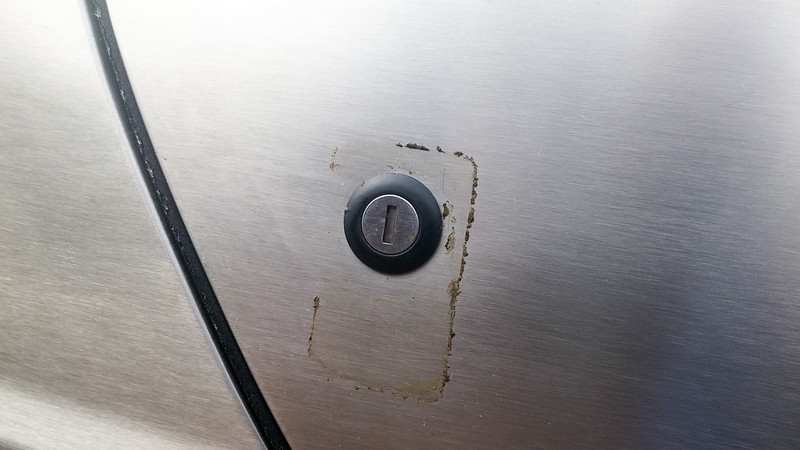 Delorean Works-14 by Dan Willis, on Flickr
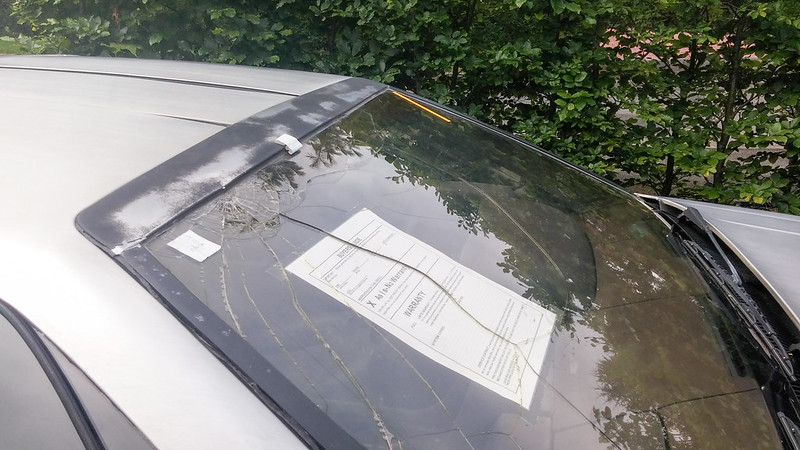 Delorean Works-12 by Dan Willis, on Flickr
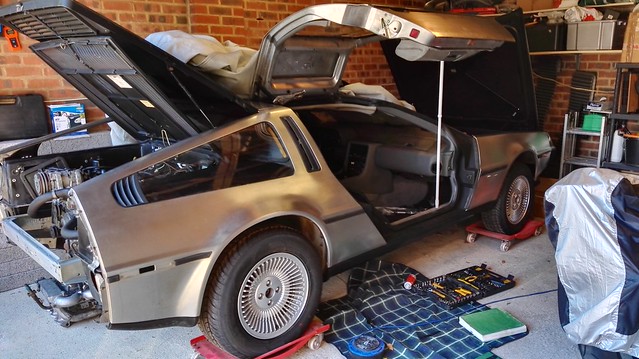 Delorean work by Dan Willis, on Flickr
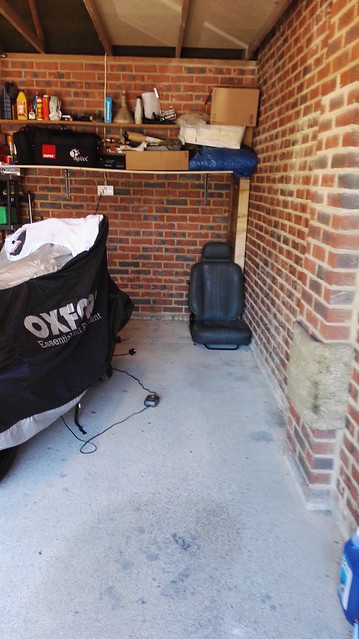 Delorean work by Dan Willis, on Flickr
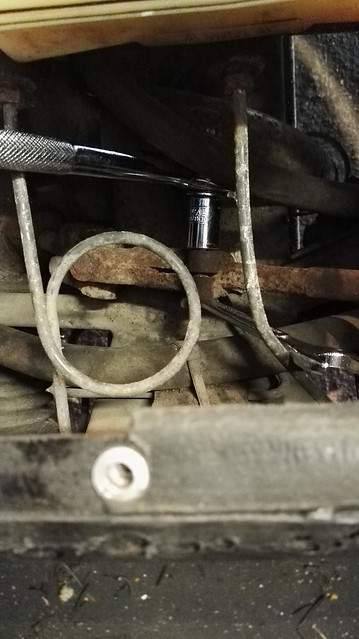 Delorean work by Dan Willis, on Flickr
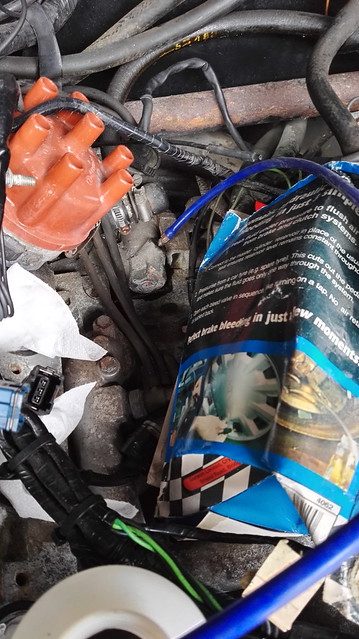 DeLorean work by Dan Willis, on Flickr
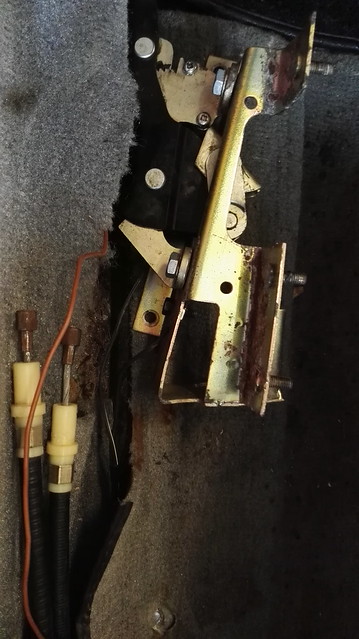 DeLorean work by Dan Willis, on Flickr
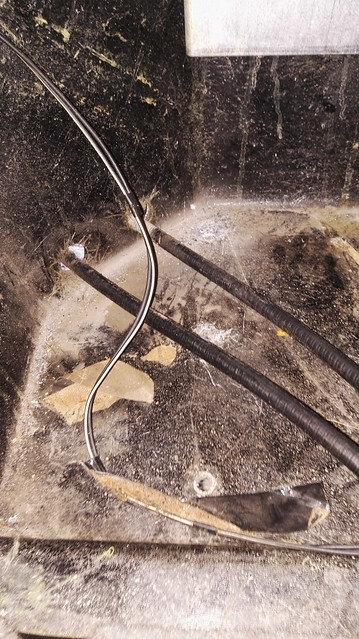 DeLorean work by Dan Willis, on Flickr
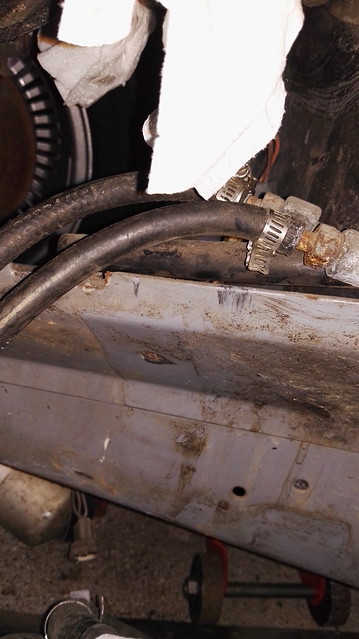 DeLorean work by Dan Willis, on Flickr
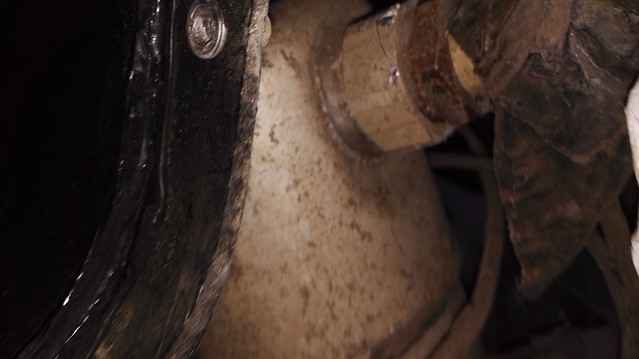 DeLorean work by Dan Willis, on Flickr
 DeLorean work by Dan Willis, on Flickr
 DeLorean work by Dan Willis, on Flickr
 DeLorean work by Dan Willis, on Flickr
 DeLorean work by Dan Willis, on Flickr
 DeLorean work by Dan Willis, on Flickr
 DeLorean work by Dan Willis, on Flickr
 DeLorean work by Dan Willis, on Flickr
 DeLorean work by Dan Willis, on Flickr